Last time: France had comparable numbers to Germany's, and in some categories better tanks, and still asked for an armistice after six weeks. Britain, suddenly the only major power still openly fighting Germany in Western Europe, did not. What did 'alone' actually mean for a country that still commanded the resources of an empire spanning a quarter of the globe? Less than the word suggests. By the summer of 1940 Britain was already flying Polish and Czechoslovak squadrons, already running two of Fighter Command's four operational groups under Dominion officers, and about to nearly double the size of its Indian Army within the year. This part follows what 'alone' actually looked like while Fighter Command held the sky over southern England — and who else was standing in that line with it.
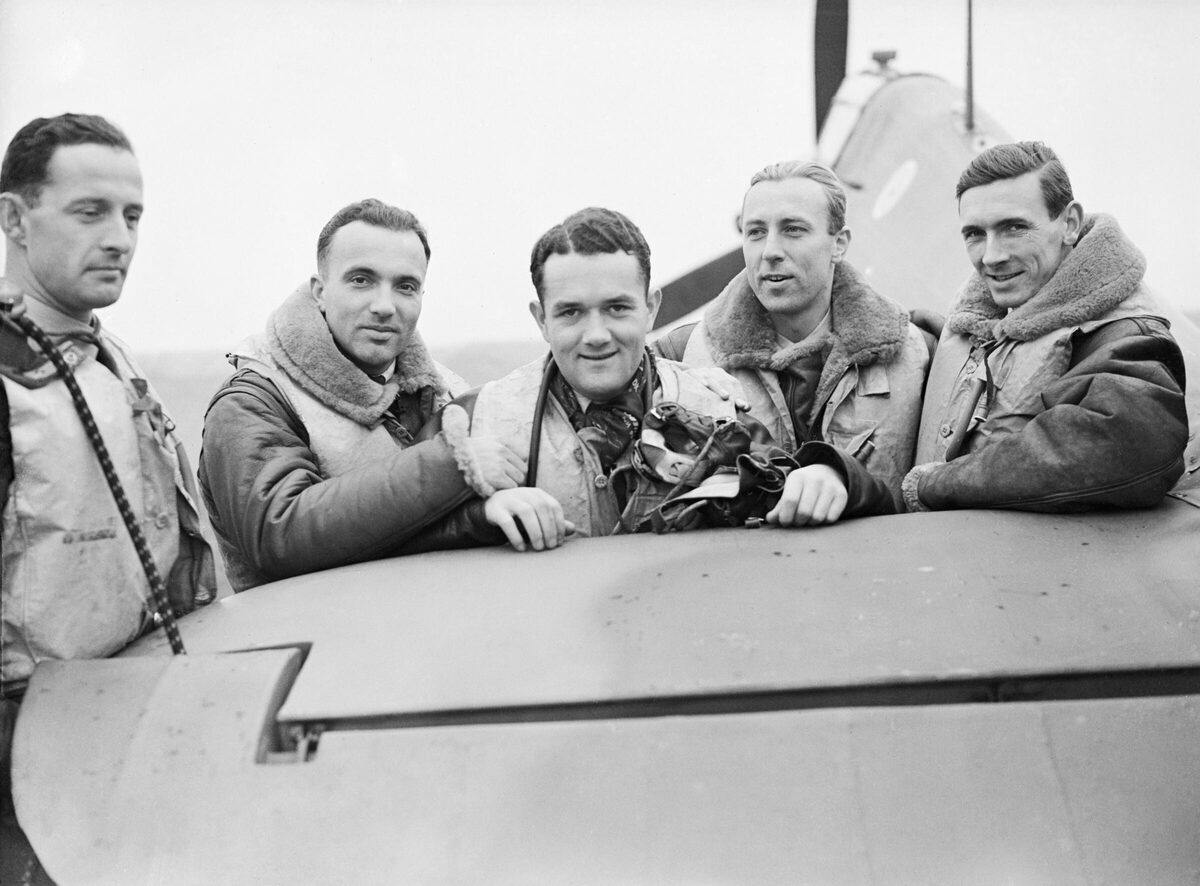
By the last week of August 1940, a Polish pilot named Witold Urbanowicz had already lost one war to the Luftwaffe. He had flown against the invasion of Poland in September 1939, escaped through Romania and France, and reached Britain as a refugee — one of thousands of Polish airmen who crossed half of Europe to keep fighting a war their own country had already lost. On September 6, 1940, he took acting command of No. 303 (Polish) Squadron, flying Hawker Hurricanes out of RAF Northolt, west of London. He was not commanding a curiosity unit kept around for morale. Over the six weeks that followed, 303 Squadron would be credited with more confirmed victories than any other Allied squadron in the entire Battle of Britain.
This part of the story is usually told under a title it doesn’t fully earn: Britain Alone. It’s an understandable title — Churchill used language close to it himself that summer, and by June 1940 Britain genuinely was the only major power still openly fighting Germany in Western Europe. But “alone” undersells who was actually flying, marching, and manning the war economy that let Britain make that stand. This part uses the fuller, more accurate title on purpose.
You are Air Chief Marshal Sir Hugh Dowding, head of RAF Fighter Command. France is collapsing. The French government and some of your own Cabinet colleagues want more fighter squadrons sent across the Channel to slow the German advance. You have watched your own squadrons' strength fall fast in the fighting so far. What do you do?
Every squadron sent to France is a squadron that won't be defending Britain's own airspace if France falls anyway — and nobody in London yet knows for certain that it will.
Dowding wrote the letter. On May 16, 1940, he sent the Air Council a formal minute, attaching a graph of Fighter Command's declining squadron strength, and warned that continued losses in France would leave Britain "at the mercy of any invader" once the Luftwaffe turned its attention across the Channel. The Cabinet, after further pressure from Paris, largely held the line he asked for. France fell six weeks later regardless — no accounting decision in London was going to change that outcome. But the squadrons Dowding kept out of the French campaign were part of what Fighter Command had left to fight with that July.
What Dowding was protecting wasn’t just aircraft. It was a system, and the system is the real reason a badly outnumbered Fighter Command could fight the Luftwaffe to a standstill at all.
The command structure running that pipeline wasn’t an all-English affair either. Fighter Command as a whole answered to Dowding. Below him, 11 Group — southeast England, the group that took the heaviest weight of the battle because it covered the direct approach to London — was commanded by Air Vice-Marshal Keith Park, from New Zealand. 10 Group, covering the southwest and Wales, was commanded by Air Vice-Marshal Quintin Brand, from South Africa. The two men most responsible for actually running the day-to-day defense of Britain’s skies in the summer of 1940 were both from the Dominions.
Of the roughly 2,936 RAF and Fleet Air Arm aircrew who flew in the battle, about 595 — one in five — were not British. Poland sent the largest single group, 145 pilots. New Zealand sent 127, Canada 112, Czechoslovakia 88, Australia 32, Belgium 28, South Africa 25, France 13, the United States 9, with more from Southern Rhodesia, Ireland, and the Caribbean.
No. 303 Squadron, formed at Blackpool in July 1940 and flying operationally from Northolt starting August 31, is the clearest single illustration of what that number meant in practice. In six weeks of committed combat, its pilots claimed 126 victories — 75 confirmed in the battle’s accepted tally, still the highest of any Allied squadron — at a kill-to-loss ratio of roughly 2.8 to 1, for the cost of 18 aircraft and 7 pilots killed. One of its pilots, a Czech named Josef František who flew with 303 as an attached “guest,” ended the battle as its fourth-highest-scoring ace, with 17 confirmed kills, before he was killed in a crash on October 8, 1940. A second all-foreign unit, No. 310 (Czechoslovak) Squadron, formed at Duxford on July 10 as the RAF’s first all-foreign-national squadron, flew as part of 12 Group’s “Duxford Big Wing” and claimed 37½ victories of its own.
"Wait until you see the whites of his eyes. Fire short bursts of one to two seconds and only when your sights are definitely 'ON.'"
Malan’s own record makes the rules something more than a slogan. On August 11, 1940 — a day his squadron mates nicknamed “Sailor’s August the Eleventh” — 74 Squadron under his command claimed 38 enemy aircraft in a single day’s fighting. He finished the battle with 27 confirmed kills of his own, and his rules went on to shape how a generation of Fighter Command pilots were taught to fight, long after the man who wrote them had gone home to South Africa.
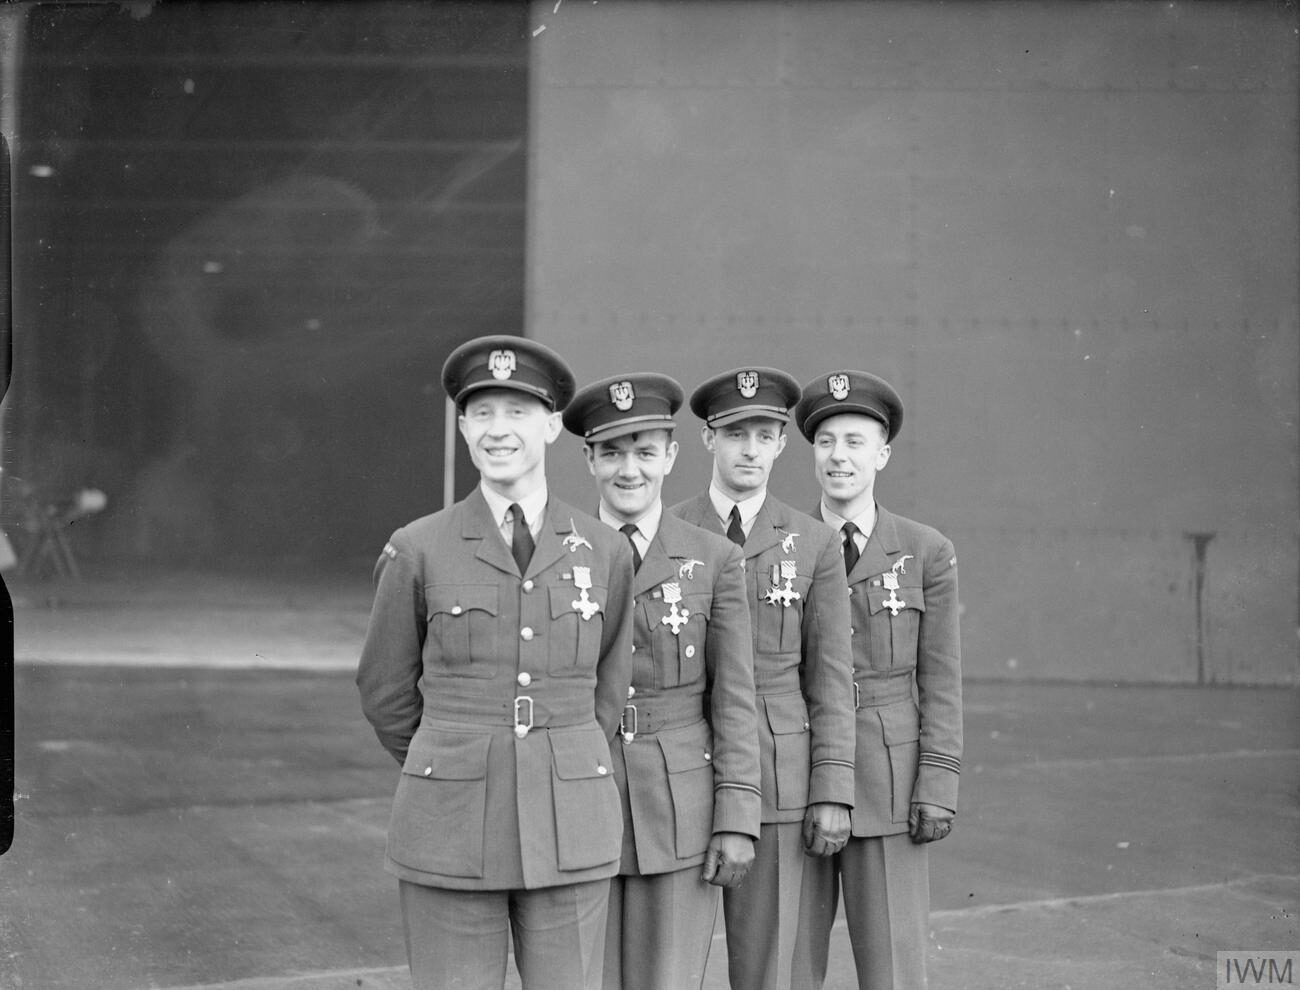
Two more names belong in this account, and they belong for the plainest reason: they were there. Pilot Officer Arthur O’Brien Weeks, from Barbados, and Flight Sergeant Collins Alwyn Joseph, from Trinidad, both flew in the Battle of Britain, and a surviving Imperial War Museum photograph shows them posing together in RAF uniform — two named, identifiable Caribbean airmen among the roughly two dozen West Indian aircrew who served with the RAF that summer. It would be easy, and wrong, to inflate their numbers into something they weren’t: most of the several hundred Caribbean recruits who eventually flew for the RAF arrived from 1941 onward, after the battle was over. Weeks and Joseph were early, and few. That’s exactly why they’re worth naming rather than folding into an anonymous statistic — the empire’s presence in this battle wasn’t only measured in squadron totals, it also showed up as specific people, in specific cockpits, months before the RAF’s Caribbean recruitment really scaled up.
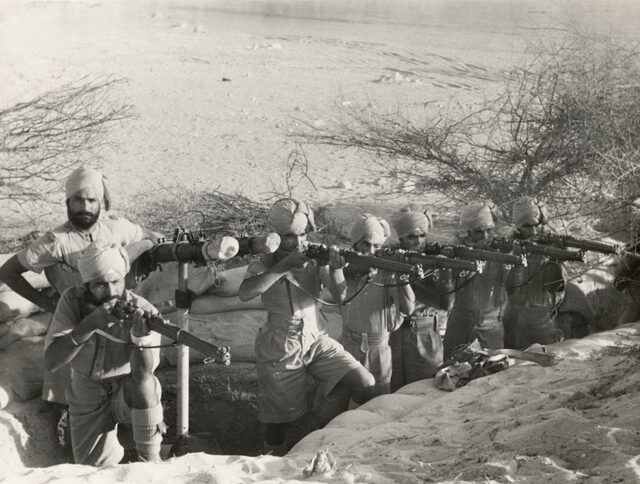
India’s contribution to this exact summer looked different again, and the honest version of it matters more than a flattering one would. Almost no Indian aircrew flew in the Battle of Britain itself — Indian and Royal Indian Air Force air service with the RAF mostly scaled up from 1941 onward, and inventing an Indian fighter ace for this battle would be exactly the kind of distortion this series doesn’t do. What’s real, and simultaneous, is this: after the fall of France, London called for a rapid expansion of Indian forces, and the Indian Army very nearly doubled in size in 1940 alone, from roughly 228,000 troops in the middle of the year to about 456,000 by its end. Part of that expanded force moved fast. On September 13, 1940 — five weeks into the Battle of Britain — the Italian 10th Army crossed from Libya into Egypt. Six weeks earlier, Italy had invaded British Somaliland from Italian East Africa, where Indian Army battalions helped hold the Tug Argan gap in mid-August before the colony was evacuated; on the separate Sudan front, the 5th Indian Infantry Division was arriving by early September to help hold that line too. While Fighter Command held the Channel, a very large Indian army was mobilizing on Britain’s behalf a continent away, on a battlefield most histories of “the Few” never mention at all.
This gauge shows where historians' debate actually sits — not a simulated probability. It never invents a number; it points at a real argument.
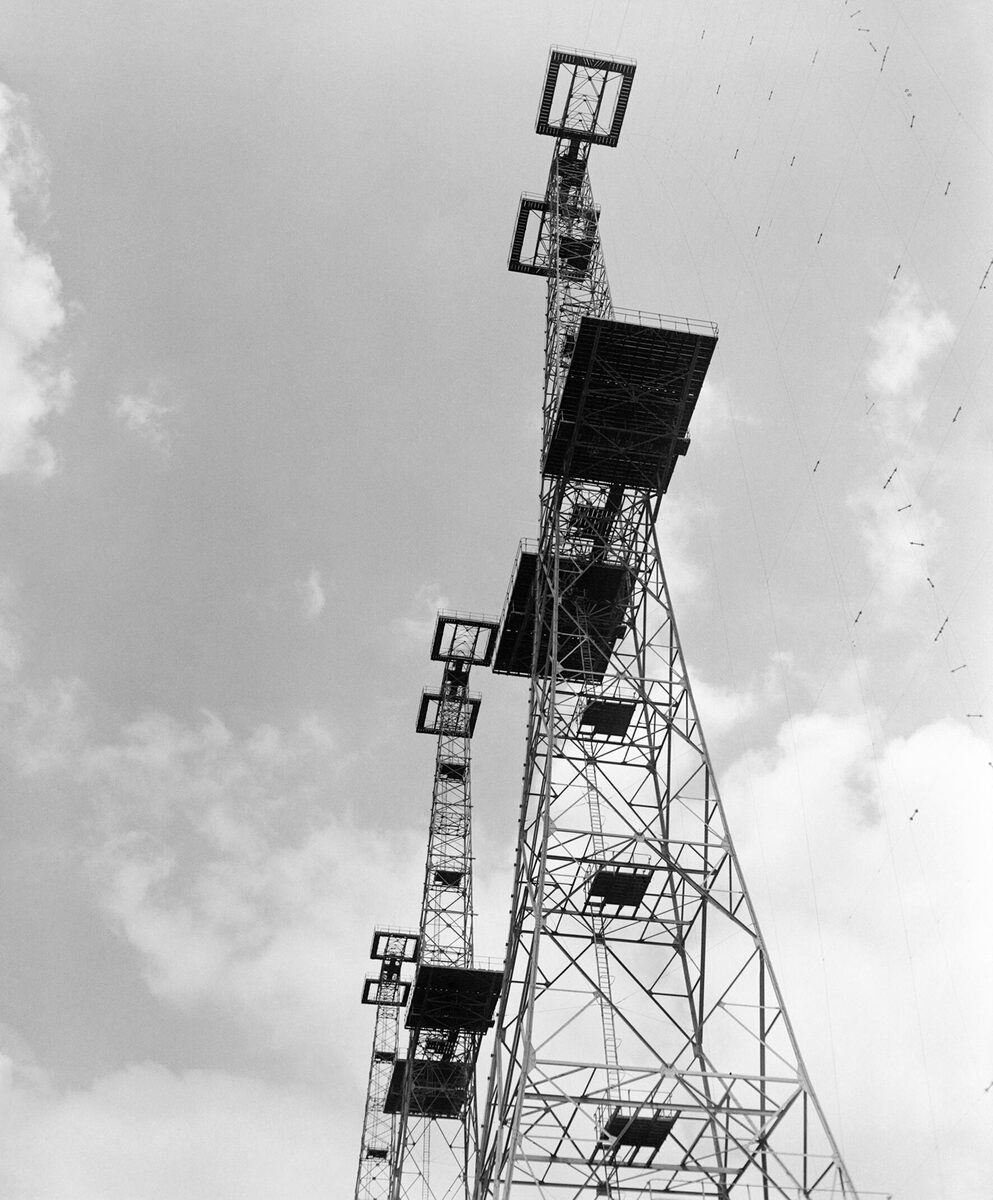
Nobody serious disputes that radar mattered. The argument is over how much of the credit for the outcome belongs to the Dowding System specifically, versus everything the Luftwaffe got wrong on its own. Historians Richard Overy (The Battle of Britain: Myth and Reality) and Stephen Bungay (The Most Dangerous Enemy) both push back on a single-cause "radar won it" story. Their case rests on documented German failures: Luftwaffe intelligence badly underestimated British fighter production in July 1940, and the Luftwaffe repeatedly believed — wrongly — that it had already reduced Fighter Command to near-collapse. German bombers also never settled on one consistent target priority; airfields, radar masts, aircraft factories, and finally London all competed for the same limited bomber force at different points in the campaign, diluting whatever cumulative damage any single strategy might have done. British aircraft production, meanwhile, actually outpaced Germany's through 1940. Overy and Bungay's argument isn't that radar didn't help — it's that German strategic incoherence and intelligence failure were doing at least as much work as any British system, and that the two sides of this argument are really describing the same battle from opposite ends of the same telescope.
By September, the fight over Fighter Command’s airfields had turned into something else. On September 4, 1940, Hitler ordered the Luftwaffe’s main weight of attack shifted onto London itself, and sustained night bombing began three days later, on September 7 — the start of what Londoners were already calling the Blitz. London was bombed on 56 of the next 57 nights. The bombing spread beyond the capital too: Liverpool, Coventry, Birmingham, Southampton, Glasgow, Belfast, and more than a dozen other British cities were hit hard enough to leave permanent scars in their street plans. Roughly 40,000 to 43,000 civilians were killed in the Blitz’s main phase, and close to two million homes were damaged or destroyed. On the single worst night of overcrowding, September 27, 1940, up to 177,000 people sheltered in the London Underground at once — though in fact only around 4% of Londoners regularly used large public shelters like the Tube; more than a quarter had small home shelters in their own gardens, and the majority, roughly 60%, simply stayed in their own houses and took their chances.
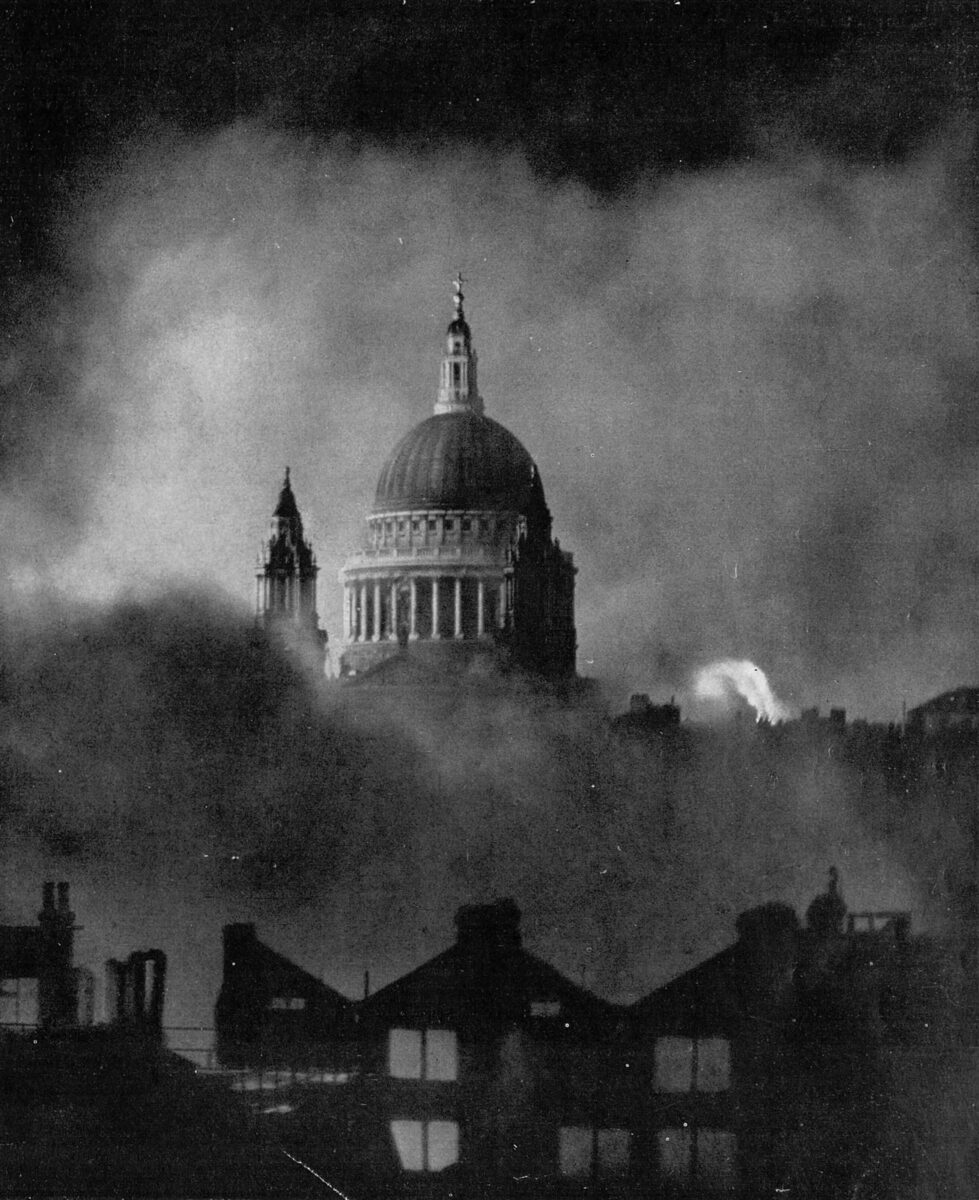
On the night of December 29, 1940 — the Blitz’s 114th night — German incendiary bombs started a firestorm across the City of London so severe it became known afterward as the Second Great Fire of London. A Daily Mail photographer named Herbert Mason, watching from a rooftop, caught St Paul’s Cathedral standing intact above the smoke, its dome apparently untouched while the buildings around it burned. The photograph ran under the headline “War’s Greatest Picture” and has been reprinted so often since that it’s easy to forget it’s a single real moment, not a symbol invented after the fact.
Behind all of it sat a question the British public wasn’t in a position to answer with any certainty in real time: was Germany actually going to invade?
None of this was visible from a London rooftop in the autumn of 1940. What was visible was a squadron based at Northolt that spoke Polish, a squadron at Duxford that spoke Czech, two named Caribbean airmen in an RAF photograph, and, several thousand miles away, an Indian army that had nearly doubled in size and was already fighting on a front of its own. Britain held the line that its own defenses, and its own radar, made possible. It did not hold it by itself.
In one sentence: what does the empire's real, material presence in 1940 change about how you'd tell this story?
It doesn't change who won, or how — radar, the Dowding System, and Fighter Command's pilots still did the specific work that stopped the Luftwaffe over southern England that summer. What it changes is the cast list. "Britain Alone" was never quite true even at its most literal moment: Polish and Czechoslovak squadrons were flying combat sorties from English airfields, Dominion officers were running two of Fighter Command's four operational groups, named Caribbean airmen were in the cockpits, and an Indian army nearly double its pre-war size was mobilizing on a second front the same month the Battle of Britain opened. The empire wasn't a supporting detail added to make the story feel inclusive after the fact. It was there, doing material, dated, documented work, while the battle was still being fought.
Sources
- Richard Overy, The Battle of Britain: Myth and Reality (Penguin, 2000/rev. 2010)
- Stephen Bungay, The Most Dangerous Enemy: A History of the Battle of Britain (Aurum Press, 2000)
- Imperial War Museums, “What Was the Dowding System?” and “The Battle of Britain,” iwm.org.uk/history/second-world-war/battle-of-britain
- Imperial War Museums Collections, CH 1533, CH 1840, iwm.org.uk/collections
- RAF Museum, “No. 303 Squadron and the Hawker Hurricane,” rafmuseum.org.uk
- Peter Fleming, Invasion 1940: An Account of the German Preparations and the British Counter-Measures (Rupert Hart-Davis, 1957)
- Führer Directive No. 16, 16 July 1940
- Vice Admiral Kurt Assmann, postwar German naval staff assessment of Operation Sea Lion
- Royal Military Academy Sandhurst, 1974 Sea Lion wargame reconstruction